After a summer festival or fireworks show, it’s tempting to just toss your yukata aside and deal with it later — we’ve all been there.
But here’s the thing: how you fold your yukata has a huge impact on how it looks and feels the next time you wear it. Improper storage can cause wrinkles, misshaping, and in the worst case, mold or yellowing that’s nearly impossible to fix.
The good news? Once you learn the right technique, it only takes about five minutes.
This guide walks you through everything — from post-wear care to the traditional hondatami folding method — so your favorite yukata stays beautiful for years to come.
Before You Fold: Essential Care Steps
Properly folding a yukata starts with a small preparation step that makes all the difference in the final finish.
▶ Don’t Fold It Right Away
As tempting as it is to put everything away immediately, folding your yukata straight after wearing it is one of the most common mistakes.
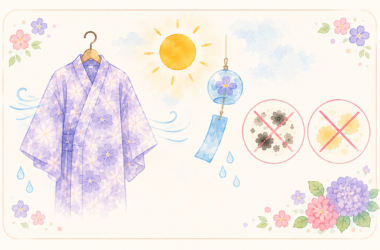
First, hang it on a clothes hanger in a well-ventilated area for one to two hours to let the moisture escape. This allows any wrinkles to naturally relax, and helps remove sweat and odor before they set in. Skipping this step — especially in summer heat — can lead to mold and yellowing over time.
Tip: If you only wore it for a few hours and it’s not heavily soiled, simply hanging it to air dry in the shade is enough. Just smooth out the shoulder line before leaving it to dry.
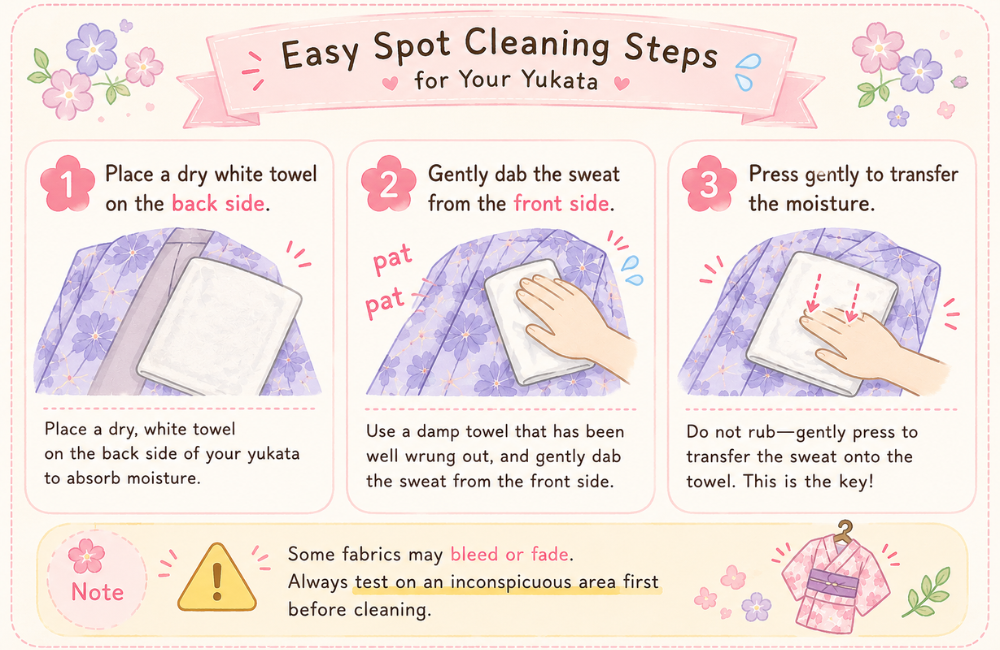
▶ Spot-Clean Sweat-Prone Areas
Sweat tends to collect around the collar, underarms, and waist of a yukata. Even after it dries, leaving sweat residue behind can cause odor and discoloration over time.
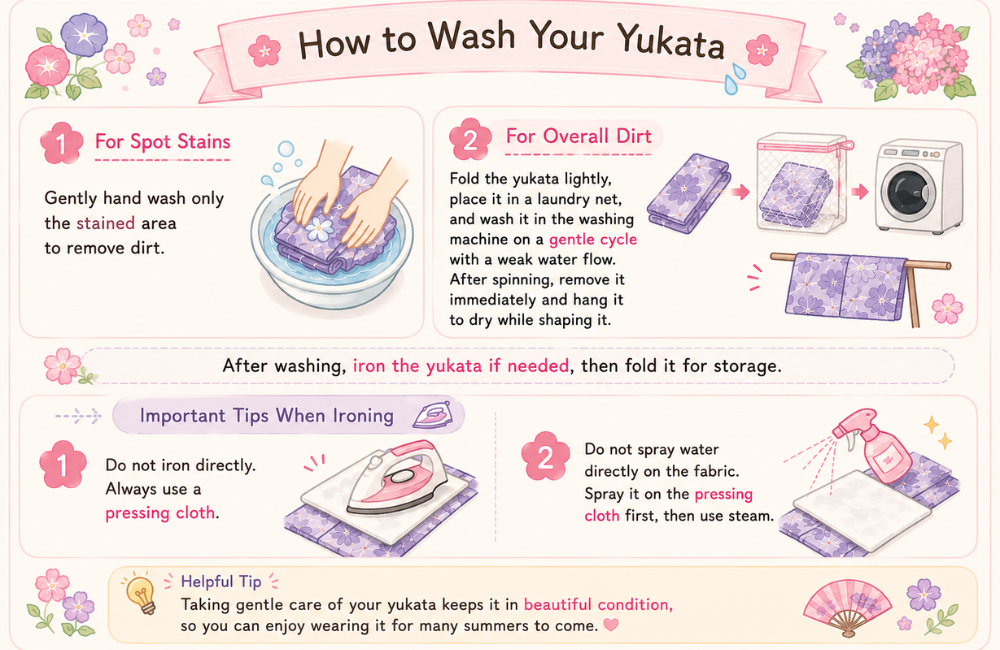
▶ Wash When Needed
If your yukata is more heavily soiled from sweat or dirt, wash it before folding.
▶ Smooth Out Any Remaining Wrinkles
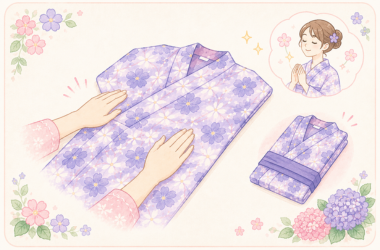
After airing out your yukata, take a moment to gently smooth out any wrinkles before folding. Use the palms of your hands to press and stroke the fabric — this is sometimes called “hand ironing.”
While the fabric still holds a little body heat, wrinkles are much easier to work out naturally.
How to Fold a Yukata: The Hondatami Method
The traditional Japanese way to fold a yukata is called hondatami (本だたみ), the same technique used for kimono. It’s the gold standard for preventing wrinkles and maintaining the garment’s shape.
Once you’ve done it a couple of times, it becomes second nature. Before you start, clear a large flat surface — ideally about the size of a single tatami mat. A cramped space will make it harder to keep everything aligned.
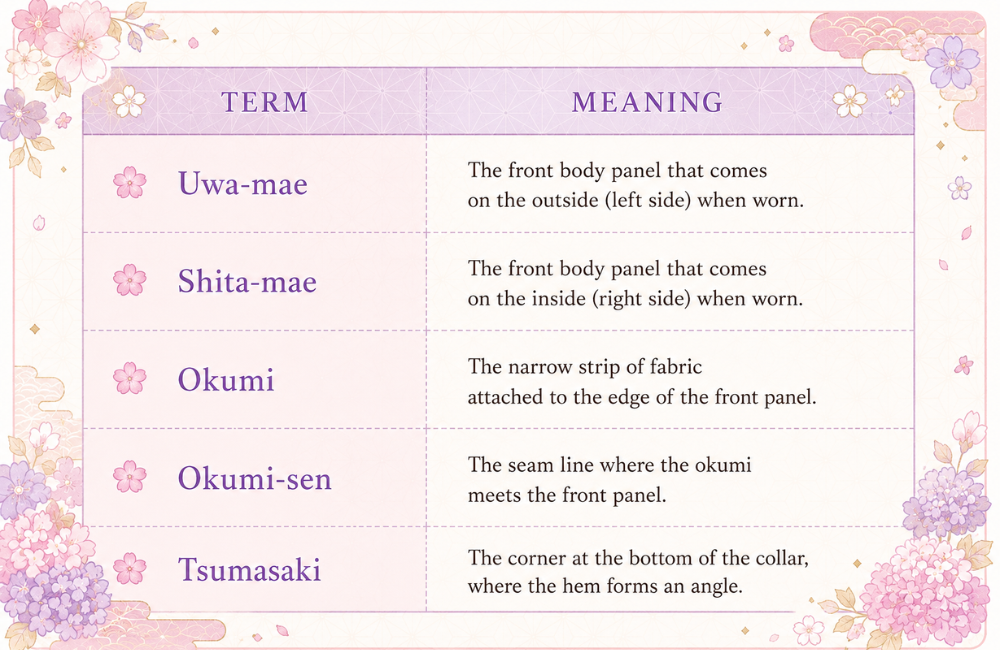
STEP 1 Lay Out the Yukata and Fold the Shitamae
Lay your yukata flat and fold the shitamae (inner front panel) inward along the okumisen sea
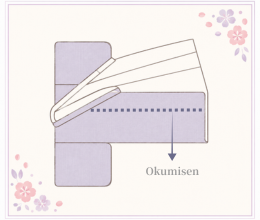
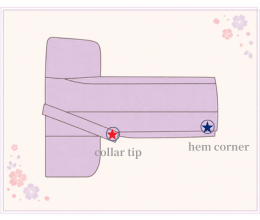
STEP 2 Fold the Collar Inward
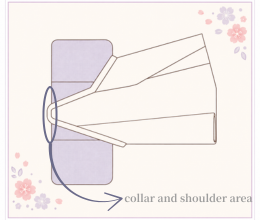
Smooth out the collar area around the shoulders,(STEP2) then fold the collar neatly inward(STEP2-1).
STEP 3 Layer the Uwamae Over the Shitamae
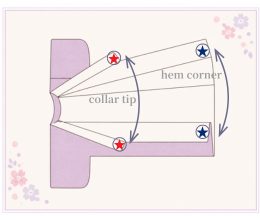
Place the uwamae (outer front panel) on top of the shitamae, aligning the okumi panels. Make sure the collar edges and the tsumasaki corners line up perfectly.
Tip: Think of it like matching up the ☆ markers — line up the same points on each side to keep everything even.
STEP 4 Fold Along the Center Back Seam
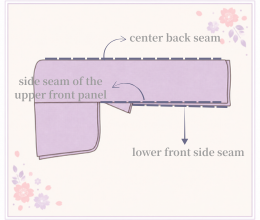
Fold the yukata in half along the center back seam, bringing the side seams of both front panels together so they align neatly.
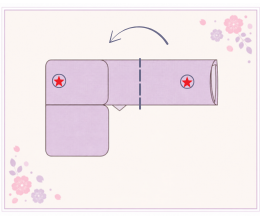
STEP 5 Fold the Top Sleeve Back
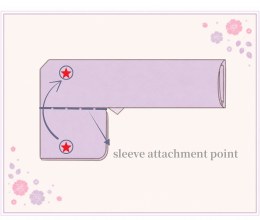
Take the top sleeve and fold it back from the sleeve attachment point so it lies flat on top of the body panel.
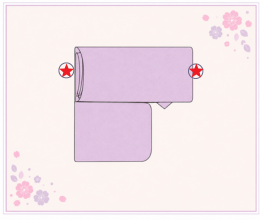
STEP 6 Fold the Body in Half
Fold the entire body panel in half.
Watch out for:
・Don’t fold the collar tips — keep them flat
・If folding into thirds, keep the sleeves unfolded
STEP 7 Carefully Flip It Over
Without disturbing the folds, gently turn the whole thing over.
STEP 8 Fold the Second Sleeve Back
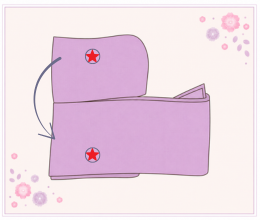
The other sleeve is now on top. Fold it back the same way as the first.
Done! One Final Touch
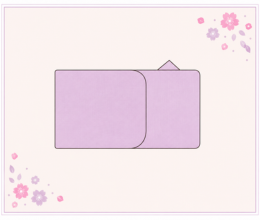
Press down gently with both hands to push out any trapped air and settle everything into place.
When storing in washi paper (tatou-gami), place the yukata with the collar facing left.
Storage Tips: Keeping Your Yukata Beautiful Between Seasons
Folding your yukata carefully is only half the battle — how you store it matters just as much. Watch out for moisture, wrinkles, and insects.
✿Use Breathable Wrapping
Avoid plastic bags, which trap moisture. Instead, wrap your yukata in washi paper (tatou-gami) or a non-woven fabric bag. These materials allow airflow while protecting against dust and humidity. Washi paper wraps are widely available and inexpensive.
✿Add a Moisture Absorber
Place a clothing-safe desiccant packet in your storage box or drawer. If you’re storing in a closet or wardrobe where humidity tends to build up, check and replace it regularly.
✿Air It Out Once a Year
Even if you didn’t wear your yukata that summer, take it out once a year and hang it in a shaded, well-ventilated spot for a few hours. This “airing out” practice — known as mushiboshi in Japanese — keeps the fabric fresh and helps prevent mold and odor from developing.
Wrapping Up
Folding a yukata properly might feel like a lot at first, but once you get the hang of it, it genuinely takes just a few minutes — and the difference it makes is real.
To recap:
- Air it out first — don’t fold right away
- Spot-clean sweat-prone areas
- Follow the hondatami steps carefully
- Store with washi paper and a moisture absorber
Build these four habits, and your favorite yukata will stay in beautiful condition year after year. Your future self — reaching for it next summer — will thank you.